Light Up Your Home: DIY Track Lighting Project in Europe
Category : alliencespot | Sub Category : alliancespot Posted on 2023-10-30 21:24:53
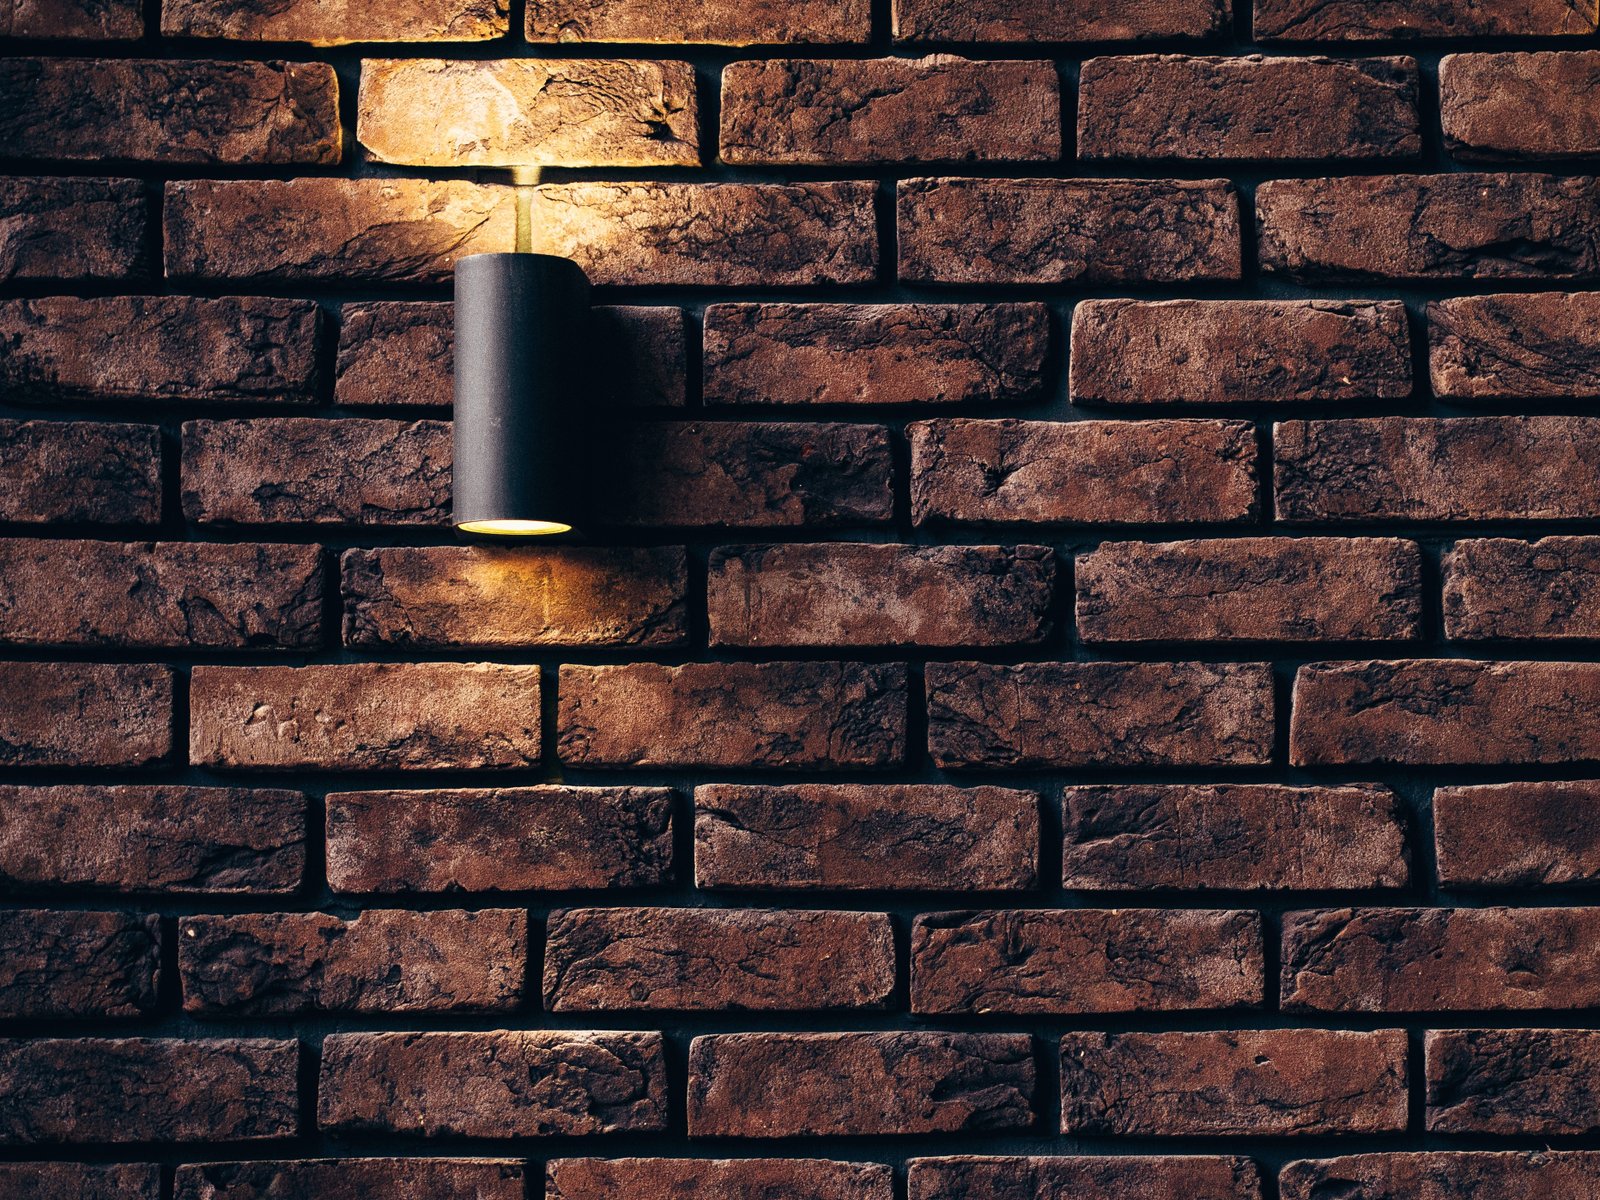
Are you looking to bring a touch of modernity and elegance to your home's interior? Look no further than a DIY track lighting project. Track lighting is a fantastic lighting solution that provides flexibility and versatility in illuminating your living space. In this blog post, we will guide you through the steps of a DIY track lighting project specifically tailored for European homes. Step 1: Planning and Designing Before you start installing track lighting, it's crucial to plan and design your layout first. Assess the different areas of your home that require lighting and consider the ambiance you want to create. Decide whether you want a single straight line of track lighting or a more intricate pattern. Take measurements and draw a detailed layout to visualize how the lighting will look in each room. Step 2: Choosing the Right Track Lighting System Selecting the right track lighting system is essential for a successful DIY project. In Europe, you can find a wide range of options catering to different tastes and budgets. Look for a track lighting system that is compatible with European voltage standards. Consider track lengths, connectors, and the number of fixtures you will need. LED track lighting is an energy-efficient choice that provides bright, long-lasting illumination. Step 3: Gathering the Tools and Materials To complete your DIY project, you will need a few tools and materials. Here's a handy list to get you started: - Track lighting system with connectors and fixtures - Power drill and appropriate drill bits - Screwdriver - Measuring tape - Pencil - Wire cutters and strippers - Wire nuts - Anchors and screws Make sure to have all these supplies ready before you start installation. Step 4: Installation Once you have your track lighting system and tools in hand, it's time to install it in your home. Remember to turn off the power at the circuit breaker before beginning any electrical work. Start by marking the locations for your track mounting brackets on the ceiling. Then, drill holes and insert anchors if needed. Secure the mounting brackets using screws. Next, attach the track to the mounting brackets, making sure it is level and securely in place. Connect the fixture heads to the track by sliding them onto the electrical contacts on the track. Follow the manufacturer's instructions for attaching the fixtures properly. Finally, connect the wiring according to the manufacturer's guidelines, ensuring that all connections are secure. Step 5: Testing and Fine-tuning After installation, it's essential to test your track lighting to ensure everything is working correctly. Turn the power back on and switch on the lights. Check for any flickering or dimming issues. If needed, adjust and tighten any loose fixtures or connections. Step 6: Enjoying Your New Track Lighting Congratulations! You have successfully completed your DIY track lighting project in your European home. Take a step back and admire the beautiful illumination you have created. Experiment with different settings and angles to find the perfect lighting arrangement for each room. With your DIY track lighting project, you have added a touch of sophistication and functionality to your home's interior. In conclusion, track lighting is an excellent choice for homeowners looking to incorporate modern, stylish lighting solutions into their homes. By following these steps and guidelines, you can take on a DIY track lighting project tailored specifically for European homes. Be sure to plan, choose the right system, gather all necessary tools, install with care, and enjoy the beautifully illuminated results. Happy DIYing! Here is the following website to check: http://www.lumenwork.com Don't miss more information at http://www.svop.org You can also check following website for more information about this subject: http://www.mimidate.com
Leave a Comment:
SEARCH
Recent News
- Illuminating Wildlife Conservation: The Impact of Proper Lighting
- If you are looking for innovative startups in the lighting industry located in Vancouver, Canada, you've come to the right place. Vancouver is known for its thriving startup scene, and several companies are making waves in the lighting sector. Let's take a look at some of the top startups in Vancouver that are revolutionizing the way we think about lighting.
- "Brighten Up Your Business: The Importance of Lighting in Vancouver"
- When it comes to lighting in Vancouver, there are several companies that stand out for their exceptional products and services. Whether you're looking to illuminate your home, office, or outdoor space, these top lighting companies in Vancouver have you covered.
- Are you interested in learning about the various business support programs offered by the UK government to help entrepreneurs and small business owners in the lighting industry? From funding opportunities to advisory services, the UK government provides a range of resources to support businesses in this sector.
- When it comes to creating a welcoming and cozy ambiance in Tunisian hotels, the lighting plays a crucial role. Lighting design not only illuminates the space but also sets the mood and enhances the overall guest experience. In this blog post, we will explore the importance of lighting in Tunisian hotels and how it can create a warm and inviting atmosphere for visitors.
- Lighting Trends: Illuminate Your Space in Style
- Enhancing Visibility with Advanced Lighting Tracking Solutions
READ MORE
6 months ago Category : alliencespot

Illuminating Wildlife Conservation: The Impact of Proper Lighting
Read More →6 months ago Category : alliencespot

If you are looking for innovative startups in the lighting industry located in Vancouver, Canada, you've come to the right place. Vancouver is known for its thriving startup scene, and several companies are making waves in the lighting sector. Let's take a look at some of the top startups in Vancouver that are revolutionizing the way we think about lighting.
Read More →6 months ago Category : alliencespot

"Brighten Up Your Business: The Importance of Lighting in Vancouver"
Read More →6 months ago Category : alliencespot
