title: A Step-by-Step Guide to Installing Recessed Spots Downlights in Your DIY Home Project in Europe
Category : alliencespot | Sub Category : alliancespot Posted on 2023-10-30 21:24:53
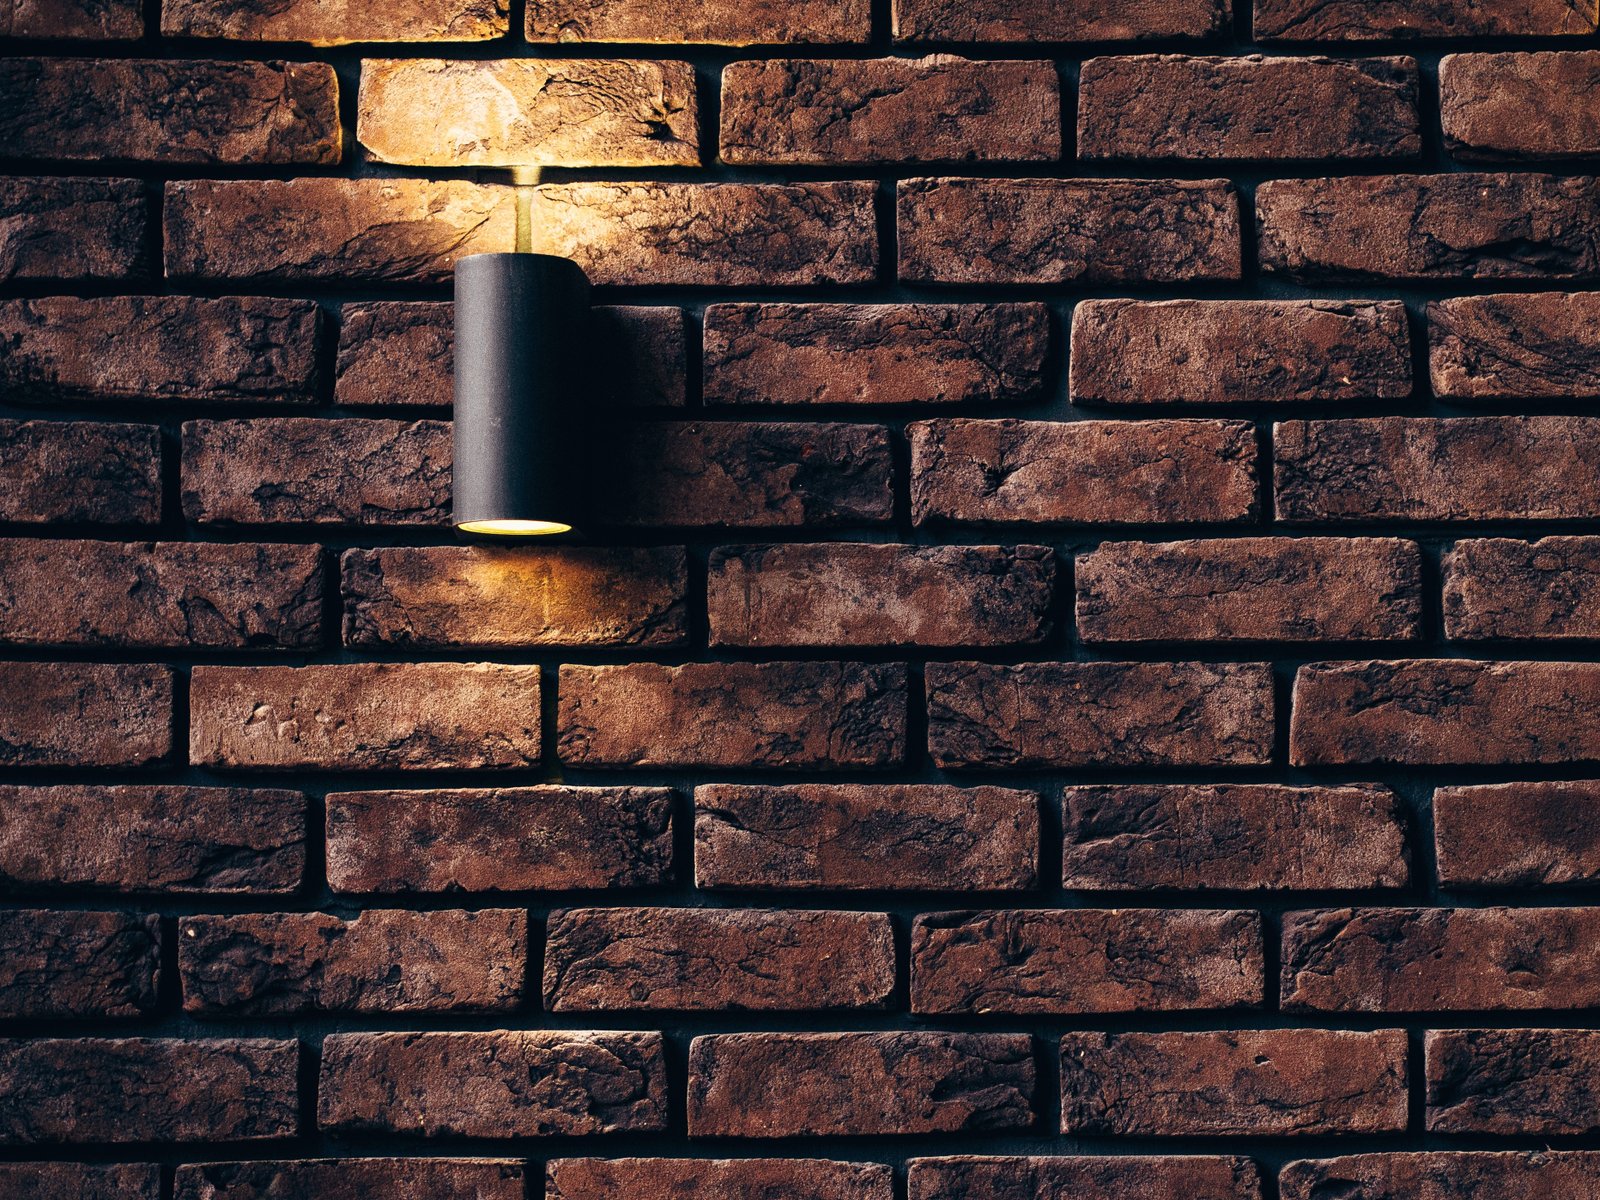
Introduction: If you're considering a DIY home improvement project in Europe, installing recessed spots downlights can be a game-changer. These sleek and modern lights not only enhance the aesthetic appeal of your space but also provide ample illumination. In this step-by-step guide, we will walk you through the process of installing recessed spots downlights in your European home. Step 1: Preparing for the Project Before you start the installation, it's essential to gather all the necessary tools and materials. You will need a stud finder, wire stripper, recessed spot downlights, switch, electrical cables, junction boxes, dimmer (if desired), and insulation. Ensure you have the correct voltage rating for your region and follow local electrical regulations. Step 2: Planning and Layout Begin by deciding the location and number of recessed spots downlights you want to install. Take into account the purpose of the room, the ceiling height, and furniture placement. Create a layout plan on paper or use digital tools to visualize the final result. Mark the spots on the ceiling using a pencil for reference during installation. Step 3: Locating Ceiling Joists Use a stud finder to locate the ceiling joists. This step is crucial as it will help you determine the placement of your recessed spots downlights and avoid drilling into any structural components. Mark the positions of the ceiling joists on the ceiling with a pencil. Step 4: Cutting Holes Using a hole saw or a suitable cutting tool, carefully cut holes into the ceiling at the marked spots. Ensure that the holes are the correct size for your recessed spots downlights. Cut holes one at a time, taking caution not to damage any electrical wiring or insulation present in the ceiling cavity. Step 5: Wiring Run electrical cables from the junction box to each cut hole location. Connect the cables to the designated wires of the recessed spots downlights using wire connectors. Follow the manufacturer's instructions for proper wiring connection. If you are unsure about electrical work, it's advisable to consult a licensed electrician. Step 6: Installing Junction Boxes Mount a junction box next to each cut hole. The junction box serves as a protective container for electrical connections. Securely attach the junction boxes to the ceiling using screws, ensuring they are level and flush with the ceiling surface. Step 7: Mounting Recessed Spots Downlights Gently push the recessed spots downlights into the cut holes one by one. Make sure they are snugly fit and flush with the ceiling. Trim any excess wiring and neatly tuck the wires into the junction boxes. Step 8: Connecting to the Switch Connect the wires from the recessed spots downlights to a switch. Consult an electrician or follow wiring diagrams to correctly connect the live, neutral, and ground wires. If desired, install a dimmer switch for adjustable lighting options. Step 9: Testing and Finishing Touches Before closing up the ceiling, switch on the electricity and test each recessed spot downlight to ensure proper functionality. Adjust the direction and tilt of the lights if necessary. Once satisfied, install trim rings or baffles around the recessed spots downlights for a finished look. Conclusion: Installing recessed spots downlights in your DIY home project in Europe brings a touch of elegance and sophistication to any space. By following this step-by-step guide, you can confidently complete the installation process, enhancing the ambiance and functionality of your European home. Remember, safety should always be a priority, so consult professionals whenever necessary and ensure compliance with local electrical regulations. Happy DIY-ing! for more http://www.svop.org If you are enthusiast, check this out http://www.mimidate.com
Leave a Comment:
SEARCH
Recent News
- Illuminating Wildlife Conservation: The Impact of Proper Lighting
- If you are looking for innovative startups in the lighting industry located in Vancouver, Canada, you've come to the right place. Vancouver is known for its thriving startup scene, and several companies are making waves in the lighting sector. Let's take a look at some of the top startups in Vancouver that are revolutionizing the way we think about lighting.
- "Brighten Up Your Business: The Importance of Lighting in Vancouver"
- When it comes to lighting in Vancouver, there are several companies that stand out for their exceptional products and services. Whether you're looking to illuminate your home, office, or outdoor space, these top lighting companies in Vancouver have you covered.
- Are you interested in learning about the various business support programs offered by the UK government to help entrepreneurs and small business owners in the lighting industry? From funding opportunities to advisory services, the UK government provides a range of resources to support businesses in this sector.
- When it comes to creating a welcoming and cozy ambiance in Tunisian hotels, the lighting plays a crucial role. Lighting design not only illuminates the space but also sets the mood and enhances the overall guest experience. In this blog post, we will explore the importance of lighting in Tunisian hotels and how it can create a warm and inviting atmosphere for visitors.
- Lighting Trends: Illuminate Your Space in Style
- Enhancing Visibility with Advanced Lighting Tracking Solutions
READ MORE
6 months ago Category : alliencespot

Illuminating Wildlife Conservation: The Impact of Proper Lighting
Read More →6 months ago Category : alliencespot

If you are looking for innovative startups in the lighting industry located in Vancouver, Canada, you've come to the right place. Vancouver is known for its thriving startup scene, and several companies are making waves in the lighting sector. Let's take a look at some of the top startups in Vancouver that are revolutionizing the way we think about lighting.
Read More →6 months ago Category : alliencespot

"Brighten Up Your Business: The Importance of Lighting in Vancouver"
Read More →6 months ago Category : alliencespot
